ColorFusion: Essential Tools for Wet and Dry Application
Wrapping your car with colored paint protection film (PPF) is one of the best ways to preserve its paint while giving it a fresh, vibrant look. Getting the perfect finish requires the right tools and techniques. In this blog, we’ll walk you through all the tools you’ll need for both wet and dry application methods to help you achieve a professional result.
What is Wet vs Dry Application?
Before diving into the tool list, let's break down the difference between these two methods:

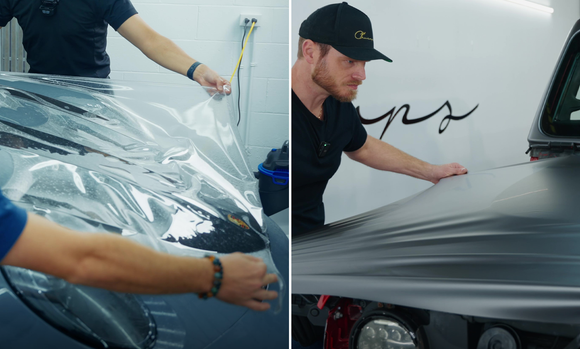
- Wet Application: Involves spraying a solution (water mixed with soap or a specific installation fluid) onto both the surface of the car and the adhesive side of the film. This method gives you more flexibility during installation as the film can be repositioned before squeegeeing the solution out.
- Dry Application: The adhesive instantly grabs onto the surface without the need for a liquid barrier, allowing for a more efficient process. This method requires precision, as repositioning the film is much more difficult after it's applied compared to wet application.
Tools for Both Wet and Dry Application
1. Squeegees
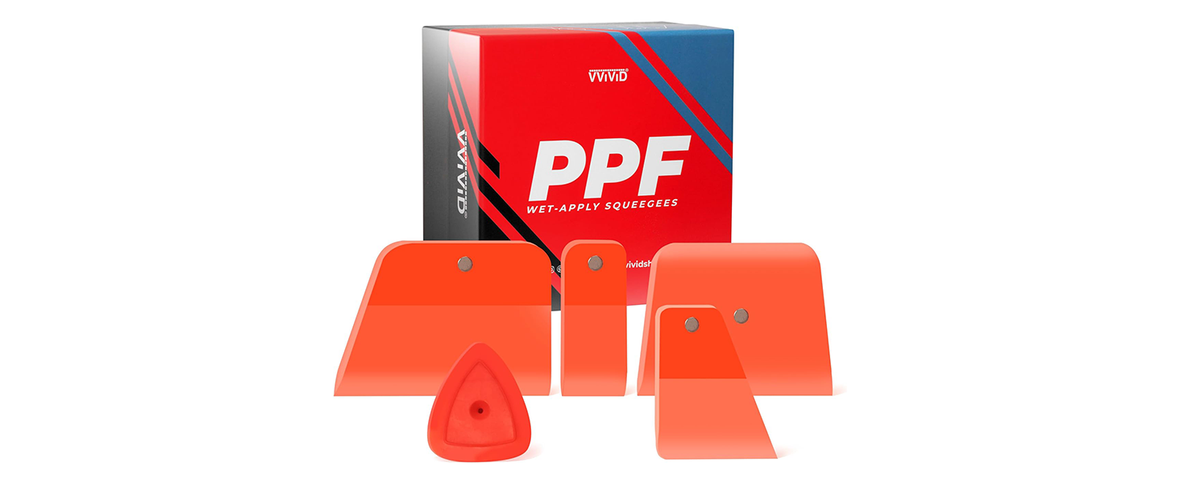
Essential for Both Methods: A high-quality squeegee is a must-have tool for applying PPF. It helps to push out air bubbles and smooth the film onto the surface. Note that the depending on the installation you are doing, you will need a different type of squeegee.
- For wet application, the squeegee pushes out the installation fluid, ensuring the film lays flat.
- For dry application, it helps press the film evenly without the aid of fluid.
VViViD offers specialized squeegees for both wet and dry applications. Our Magnetic PPF Squeegees are essential for wet installations, while our Magnetic Squeegees are perfect for applying PPF and vinyl wrap without fluid. Both feature built-in magnets, allowing them to stick to your vehicle, ensuring your tools are always within easy reach during installation.
2. Spray Bottle & Slip Solution
Wet Application Only: You'll need a spray bottle to apply the soapy water solution. The solution reduces friction and allows the film to be repositioned as you work.
A common mix is 2-3 drops of baby shampoo in a full bottle of water. Alternatively, some pros use pre-made installation fluids designed specifically for PPF application like Tacktical.
3. Heat Gun
Essential for Both Methods: A heat gun softens the PPF, allowing you to stretch it around curves and corners for a snug fit. Heat also helps the film's adhesive activate and adhere better to the surface.
- For wet application, heat can speed up the drying process and help the film settle. Also essential for the edges of the
- For dry application, heat helps form the film around complex areas, like bumpers and side mirrors.
VViViD's Blaze Heat Gun combines the latest technology with a durable and style design to ensure you have the best control for your projects.
4. Precision Cutting Knife
Essential for Both Methods: A sharp, Precision Knife is necessary to trim the excess film from edges and around complex parts like door handles and side mirrors. Make sure to use a blade that’s sharp but doesn't risk damaging the underlying paint.
5. Microfiber Cloths
Essential for Both Methods: Use microfiber cloths to clean the surface before applying the film, and to wipe down the film after application. These cloths are lint-free and won't scratch your car's paint or the film.
6. Surface Prep Cleaner
Essential for Both Methods: Before applying any film, clean the surface thoroughly with a surface prep cleaner. Any dirt, grease, or wax left on the surface can prevent the PPF from adhering correctly and may result in imperfections.
Additional Tips for Success
- Environment Control: Whether using wet or dry application, make sure to work in a clean, dust-free environment. Small particles can easily get trapped under the film and ruin the finish.
- Take Your Time: Rushing the process, especially during tricky areas like curves, corners, and door handles, can lead to wrinkles or air bubbles.
- Practice: If you’re new to installing PPF, practice on a small section of the car or a less visible area before tackling the larger panels.
Conclusion
Using the right tools is crucial to achieving a professional-looking colored PPF wrap. Whether you opt for the wet method, giving you time to reposition the film, or the dry method, which allows for faster installations, these tools will help you get the job done right. With patience and attention to detail, you’ll give your car a stunning, protected finish that lasts for years.


